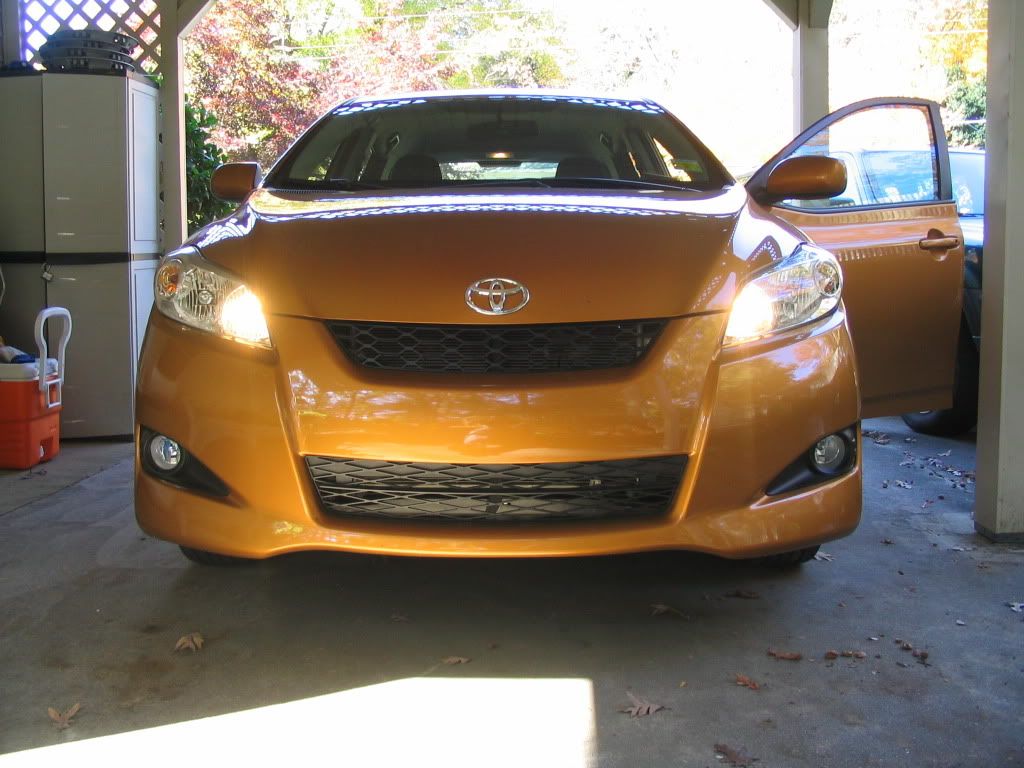
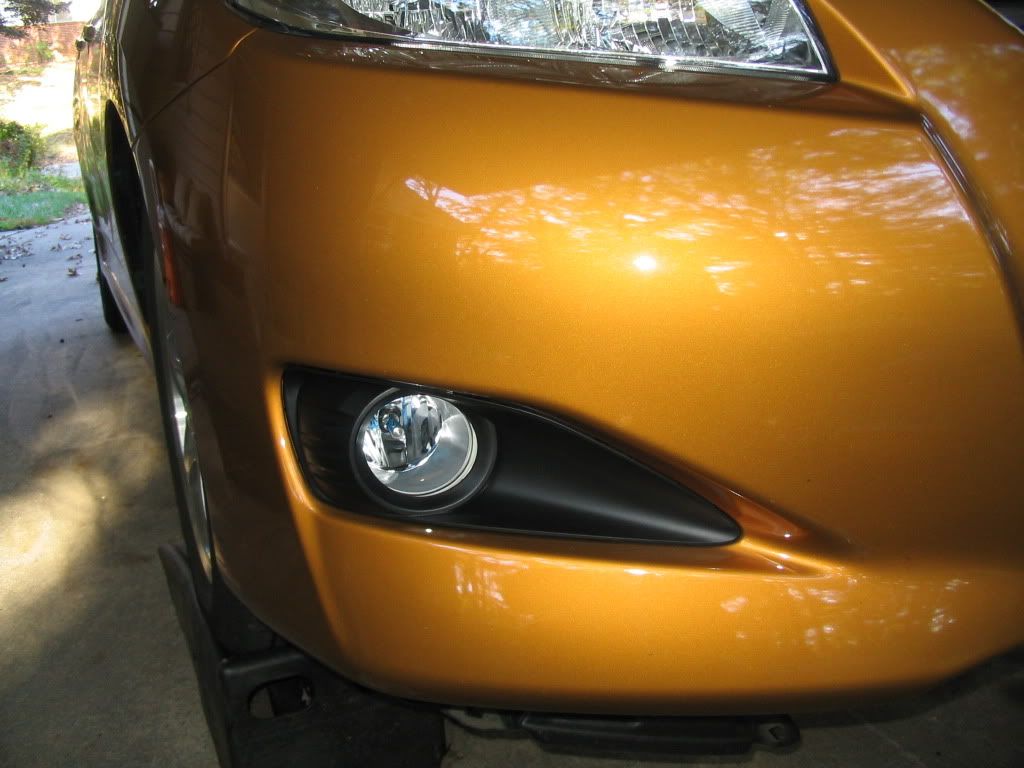
How-to and Pictures of OEM style fog light install on the base model 09 Matrix.
Took me a couple of hours on Sunday morning to install 99% of it, then hooked up the hot power at work on my lunch break.
The ebay kit came with OEM Toyota fog light shrouds, and then an aftermatket set of fogs w/harness.
Tools and Stuff used: 10mm socket, small screwdriver/pry tool, pliers, Digital multimeter, electrians combo pliers, zip ties, electrical tape, add a line ATM fuse bay tap ($5 from Advance Auto) about 2' of 14 gauge wire, assorted electrical connectors, Rhino Ramps.
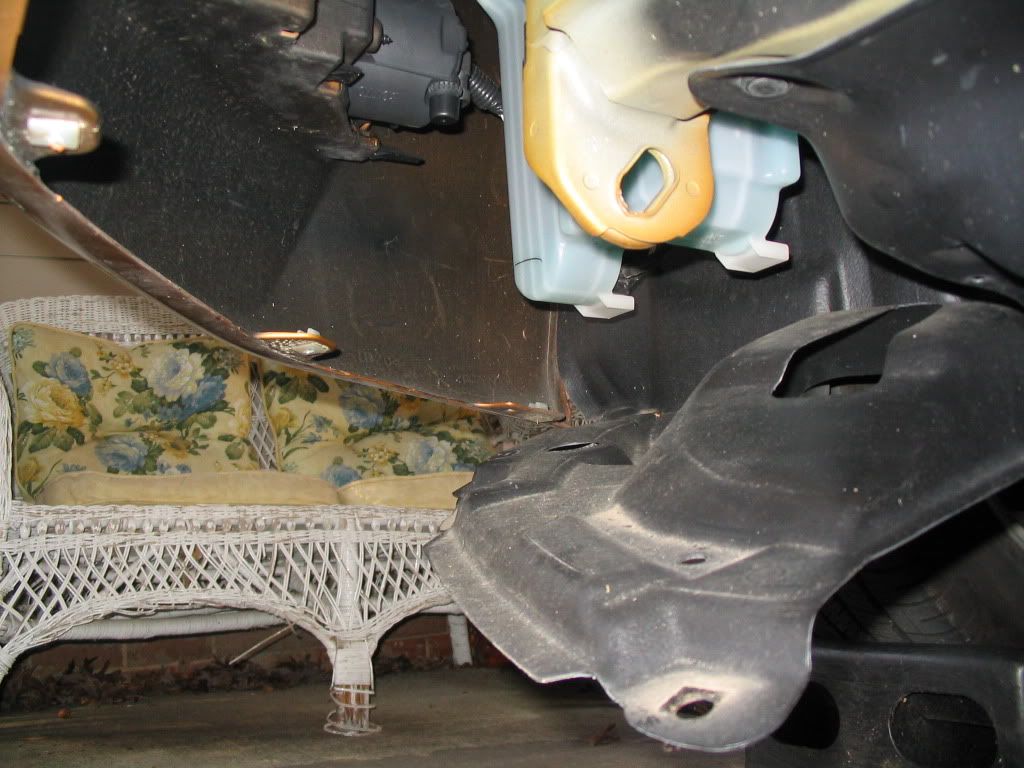
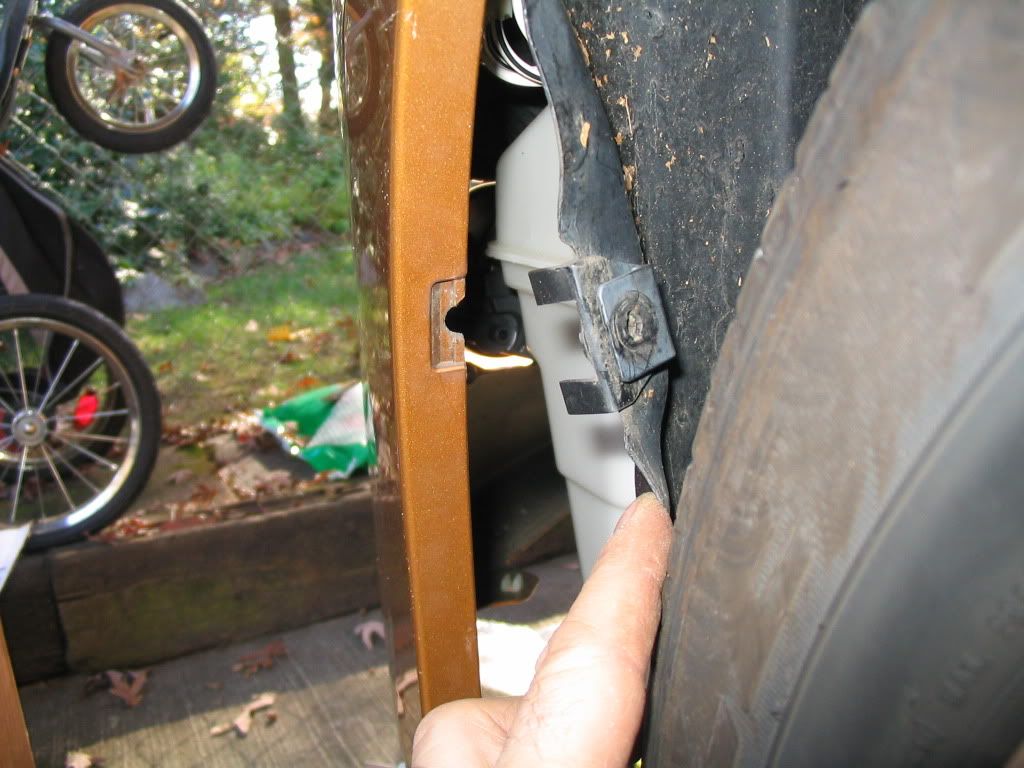
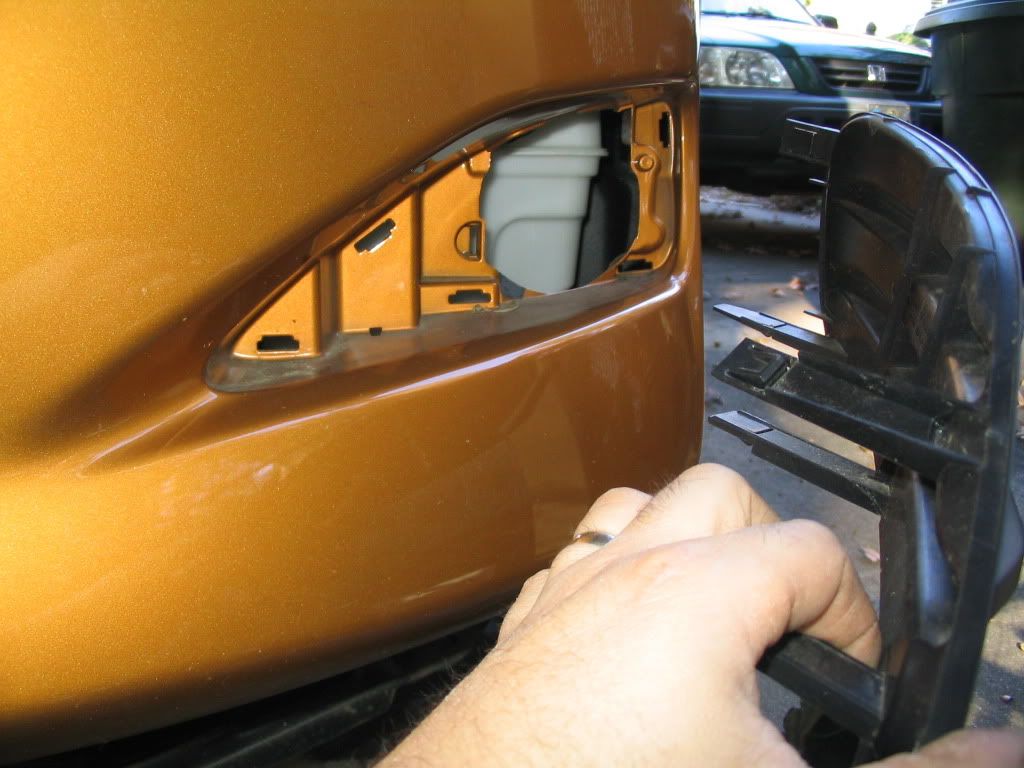
Drive up your Ramps to give a little extra room to shimmy around on the floor. Remove 3x 10mm screws and one push clip (pry the middle of the push clip out to remove it PITA pushclips!) Then you can wiggle the mud guards away and get plenty of room to install your fogs. As you can see on the one side I took another clip out of the mudguard in the wheel well, so I could sqeeze my hand in to get a screw driver in that tight corner.
Pulling out the old shrouds is a PITA you have to keep tugging on it while pushing up the tabs so they slide out together. Each tab is kind of 'barbed' The key is keep tugging while messing with the tabs so eventually they all start coming through the holes and the shroud comes out.
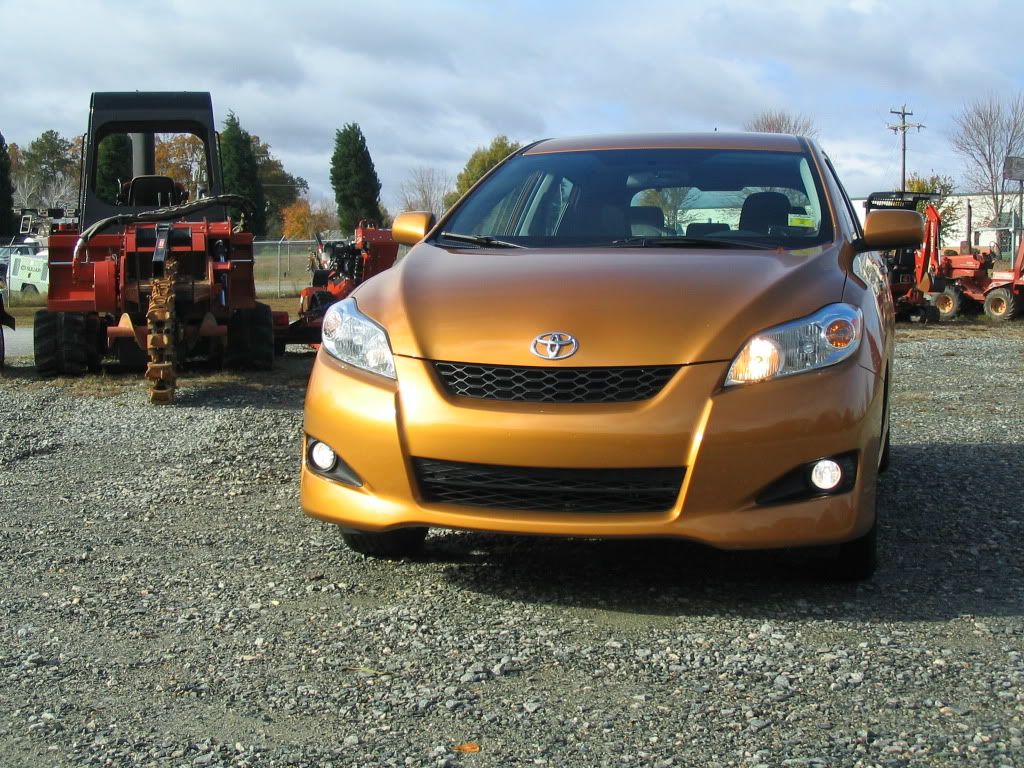
mounting the fog lights
The self tappers came with the kit are way to big to screw into the mounting holes, if you don't get the screws tight the fogs will flop around, so I found some slightly smaller screws and ran them screws in and out of the holes a few times to make it possible to snug it up when the lights are in place and there's less room to move.
I would recommend finding some self tappers with a nut head,so you can reach in with a good socket set to tighten the screws, but it's possible using pliers and a screw driver to do it with screw heads. Only two screw holes line up to the mounting holes on the inside of the spoiler, and one of the screw hole tabs fits into the moulding in the spoiler.

The Harness is in two
pieces that connect together. One side is the harness that runs to both fog lights with a ground, the other has the relay, fuse, switch, and two wires with connctors needing power and another ground. Both grounds are close together when the harness is all hooked up, I used the negative battery terminal to connect both grounds.
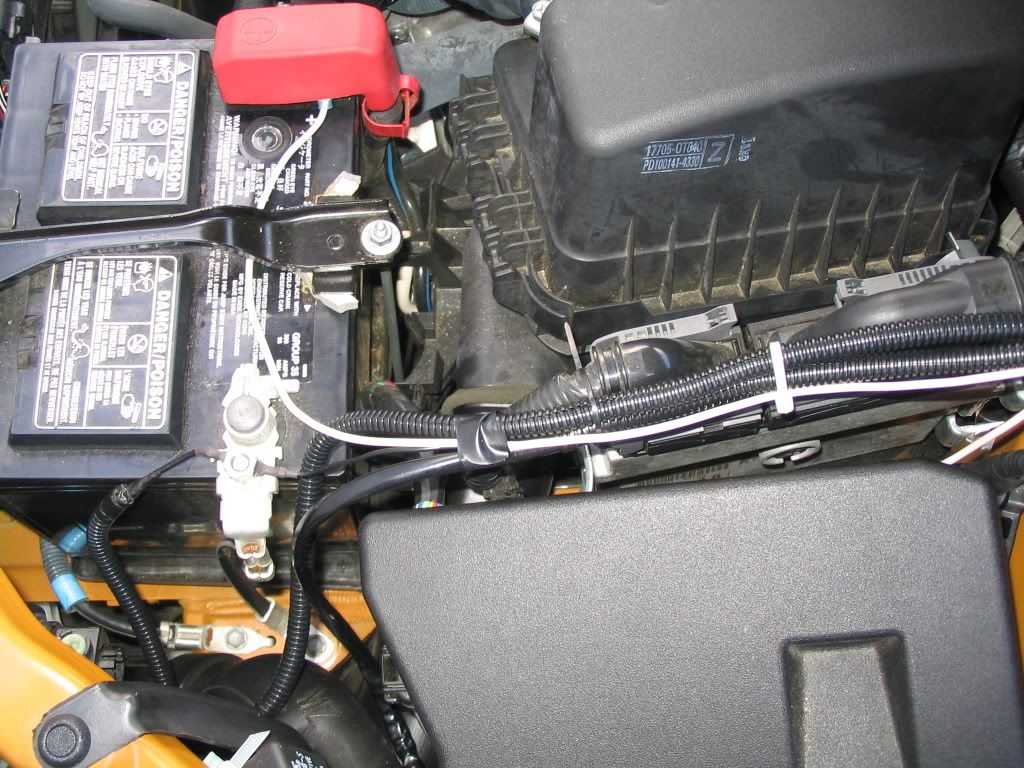
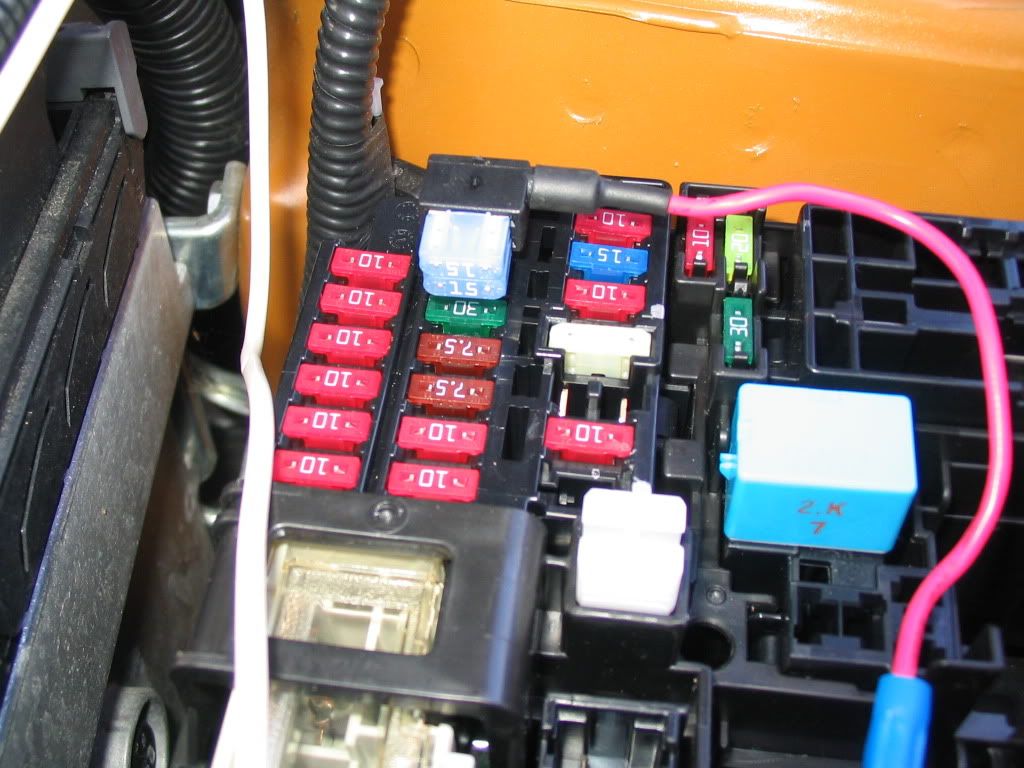
The one power wire that runs through the fuse into the relay I hooked directly onto the positive battery, I still had the negative hooked up to the battery so I was very careful not to disconnect anything from the positive while installing the wire (as this could easily spark). The other hot wire in the harness powers the switch and ideally you want to find an accessory power supply that turns off with the ignition. Unfortunately for me the engine bay fuse box doesn't have a decent fuse that turns on and off with the ignition apparently. I could have got power from the RH high beam fuse that also has power when the DRLs are on, but that would mean I would only be able to turn on my fogs when the DRLs are on. So at the moment I just used an empty fuse bay that has constant 12v (this means I can leave the lights on and drain the battery, it's not switched off with the ignition), plugged in my 'add a line ATM fuse thingy' w/2 15amp fuses, and this powers the switch.
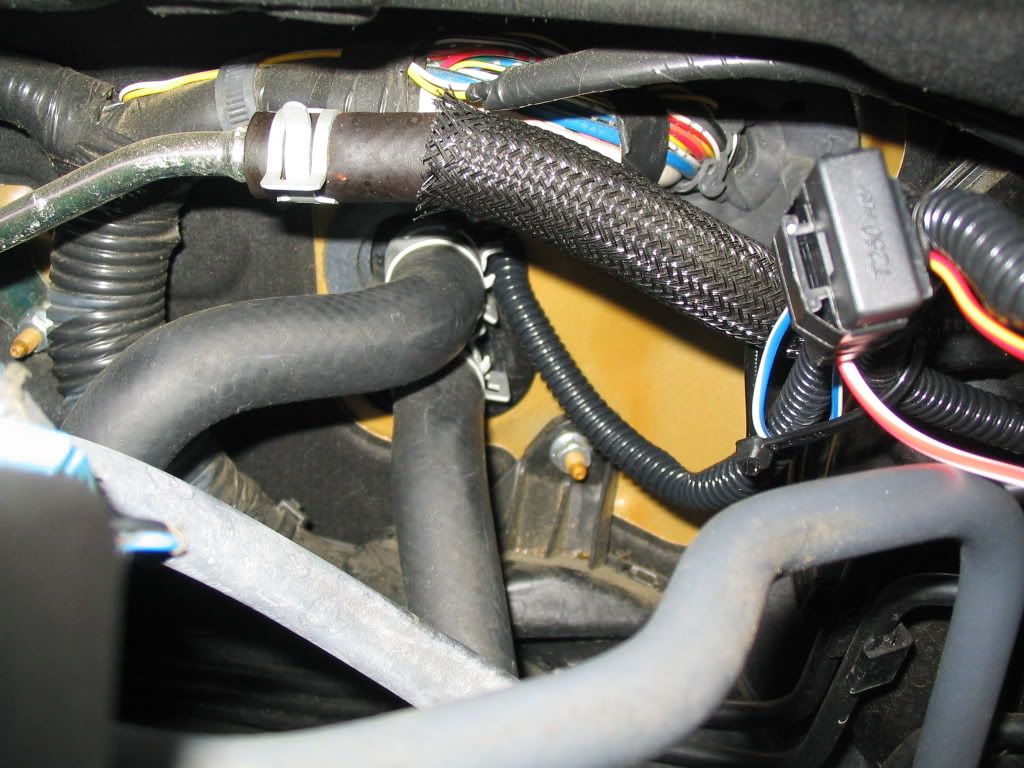
I ran the harness with the switch connector through the firewall where the A/C lines run through.I squashed it around the side of the rubber boot thing, It's not the greatest part of this DIY in the world but should be ok, I think I will splooge some silicone around it just to make sure it's weatherproof.
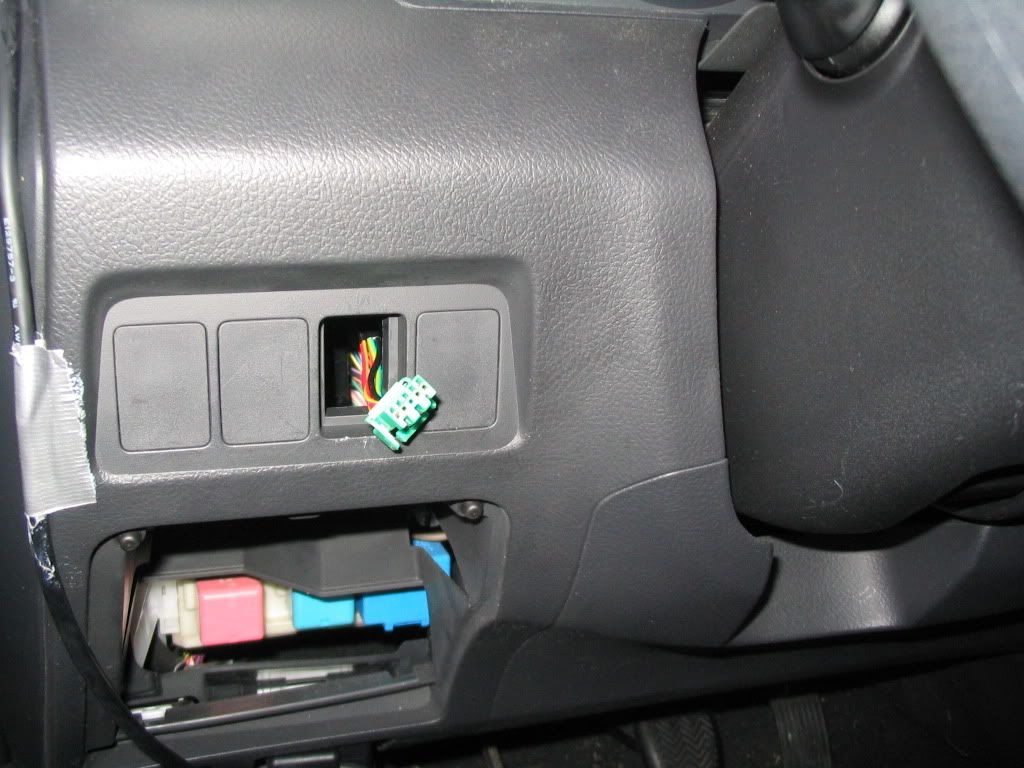
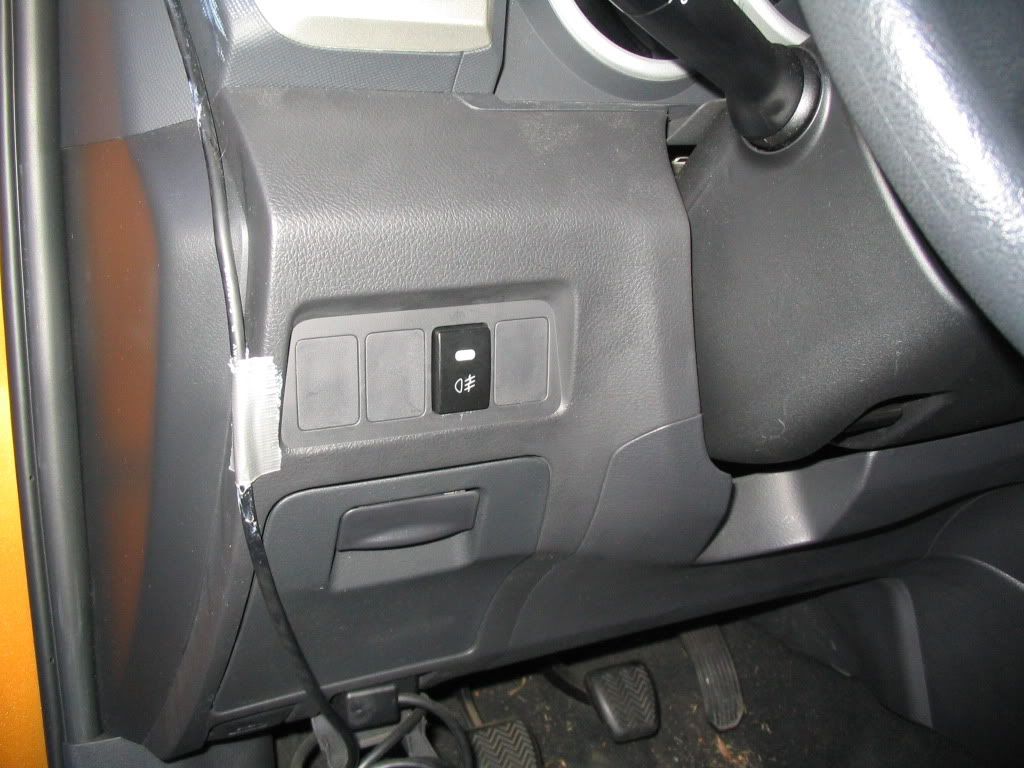
I popped out a blank by pulling out the little coin holder at the side, ran the harness up and behind all the pedals and steering column, everything nicely out of the way and connect the switch through the hole.
I might redo some of the harness and bring all the relay and stuff inside the cabin, that way it will be easier to tap into a proper accessory 12v source from the fuse box under the driver side, Or I could run another wire out to where it is now, couple of options to think about. But for now I'll see how it goes.
I will take some more pictures of the wiring into the battery and fuse box when I get a chance.
Reply 1 : Base Trix OEM style Fog Lights Install
cool, so all this cost you under $200 right? seems like an easy job... i want fogs now. lol great write up.. there enough wire provided? just add some wiring process pics and it'll be perfect.

Reply 2 : Base Trix OEM style Fog Lights Install
Yeah $152 for the fog kit shipped and about $5 for the fuse tap. I had spare 15a fuses, wire and connectors at work. Only extra wire needed was to hook up the power wires, just a couple of feet needed in the engine bay. Will take some more pictures hopefully today.
Reply 3 : Base Trix OEM style Fog Lights Install
I added a couple more pics to the OP.
Reply 4 : Base Trix OEM style Fog Lights Install
You are the best jdhog!! Going to do this

Reply 5 : Base Trix OEM style Fog Lights Install
Hey JDHOG....great job and write up!
Reply 6 : Base Trix OEM style Fog Lights Install
good DIY and write up, thanks
what did you use to help to get the wire through the firewall ?
do you need to jack up the car before you can open the wheel well ?
Reply 7 : Base Trix OEM style Fog Lights Install
Thanks guys!
I pushed the harness through with my finger, pulled it through the other side.
Drove up my rhino ramps for more room, didn't jack it up.
Reply 8 : Base Trix OEM style Fog Lights Install
how long did it take to do this install?
Reply 9 : Base Trix OEM style Fog Lights Install
sorry for bumpin old thread but i just gotta say thanks for the guide lol...
just installed mine and they are great !
for future reference, to let everyone know who buys this from ebay, jdhog(i believe) and i snipped off the two useless plugs.. the power wires that is i mean.
basically, the plug with a red/yellow wire should be used with the fuse-tap, and the plug with red/white should be connected directly to battery.
i spent about 2-3 hours installing based on this thread. i used almost same tools as mentioned, except for the ramps... i did everything with car flat on driveway. me and my small hands ;D
Reply 10 : Base Trix OEM style Fog Lights Install
Hey, I tried to put mine in today. Everything went smoothly except two things. My add a line ATM thingy was too big for anyplace under my hood. Did I just buy the wrong one? And also, the fog light button is way to big to fit anywhere in the car! Did anyone else have this issue?
Reply 11 : Base Trix OEM style Fog Lights Install
what? where did you buy this foglight setup? bought mine off ebay and the switch fit right into the those empty slots.
for fuse, i bought the one that goes into a fuse spot and has a wire coming out so that it taps in.. this i put in driver footwell area fuse box. cover didn't fit with it there so i took cover off.
Reply 12 : Base Trix OEM style Fog Lights Install
Quote:
|
Originally Posted by aznsportcar 
what? where did you buy this foglight setup? bought mine off ebay and the switch fit right into the those empty slots.
for fuse, i bought the one that goes into a fuse spot and has a wire coming out so that it taps in.. this i put in driver footwell area fuse box. cover didn't fit with it there so i took cover off. |
I bought the kit off ebay too
 I dont know why my botton doesnt fit. Can you tell me exactly where in the footwell you put it?? that would be unbelievable. I looked down there, but didnt see en empty spot.
Reply 13 : Base Trix OEM style Fog Lights Install
Well I just went to the local auto store and ordered a mini fuse tap that will be in tomorrow. Freaking $20 plus tax. I have no clue why it is so much. The regular size ones I can find at every autopart store and is about half the price! Oh well. I still dont know what I am going to do about the button. I will take a picture of it later on today. Im thinking of sanding down the edges so it will fit, but I dont want it to look ghetto
. Also, sorry for the thread jack.
Reply 14 : Base Trix OEM style Fog Lights Install
eh, this is mostly talking about the fogs so .. yea should be ok with OP.. anyways, i took out the 12v cigarette lighter fuse and put the fuse tap in along with 2 new fuses in the fuse tap. that way my fogs are on 24/7 unless keys are taken out of ignition.
did you pop out a empty slot and actually try to slide it in? it should be flush like jdhog's and mine's... does it look like same exact button?
No comments:
Post a Comment